
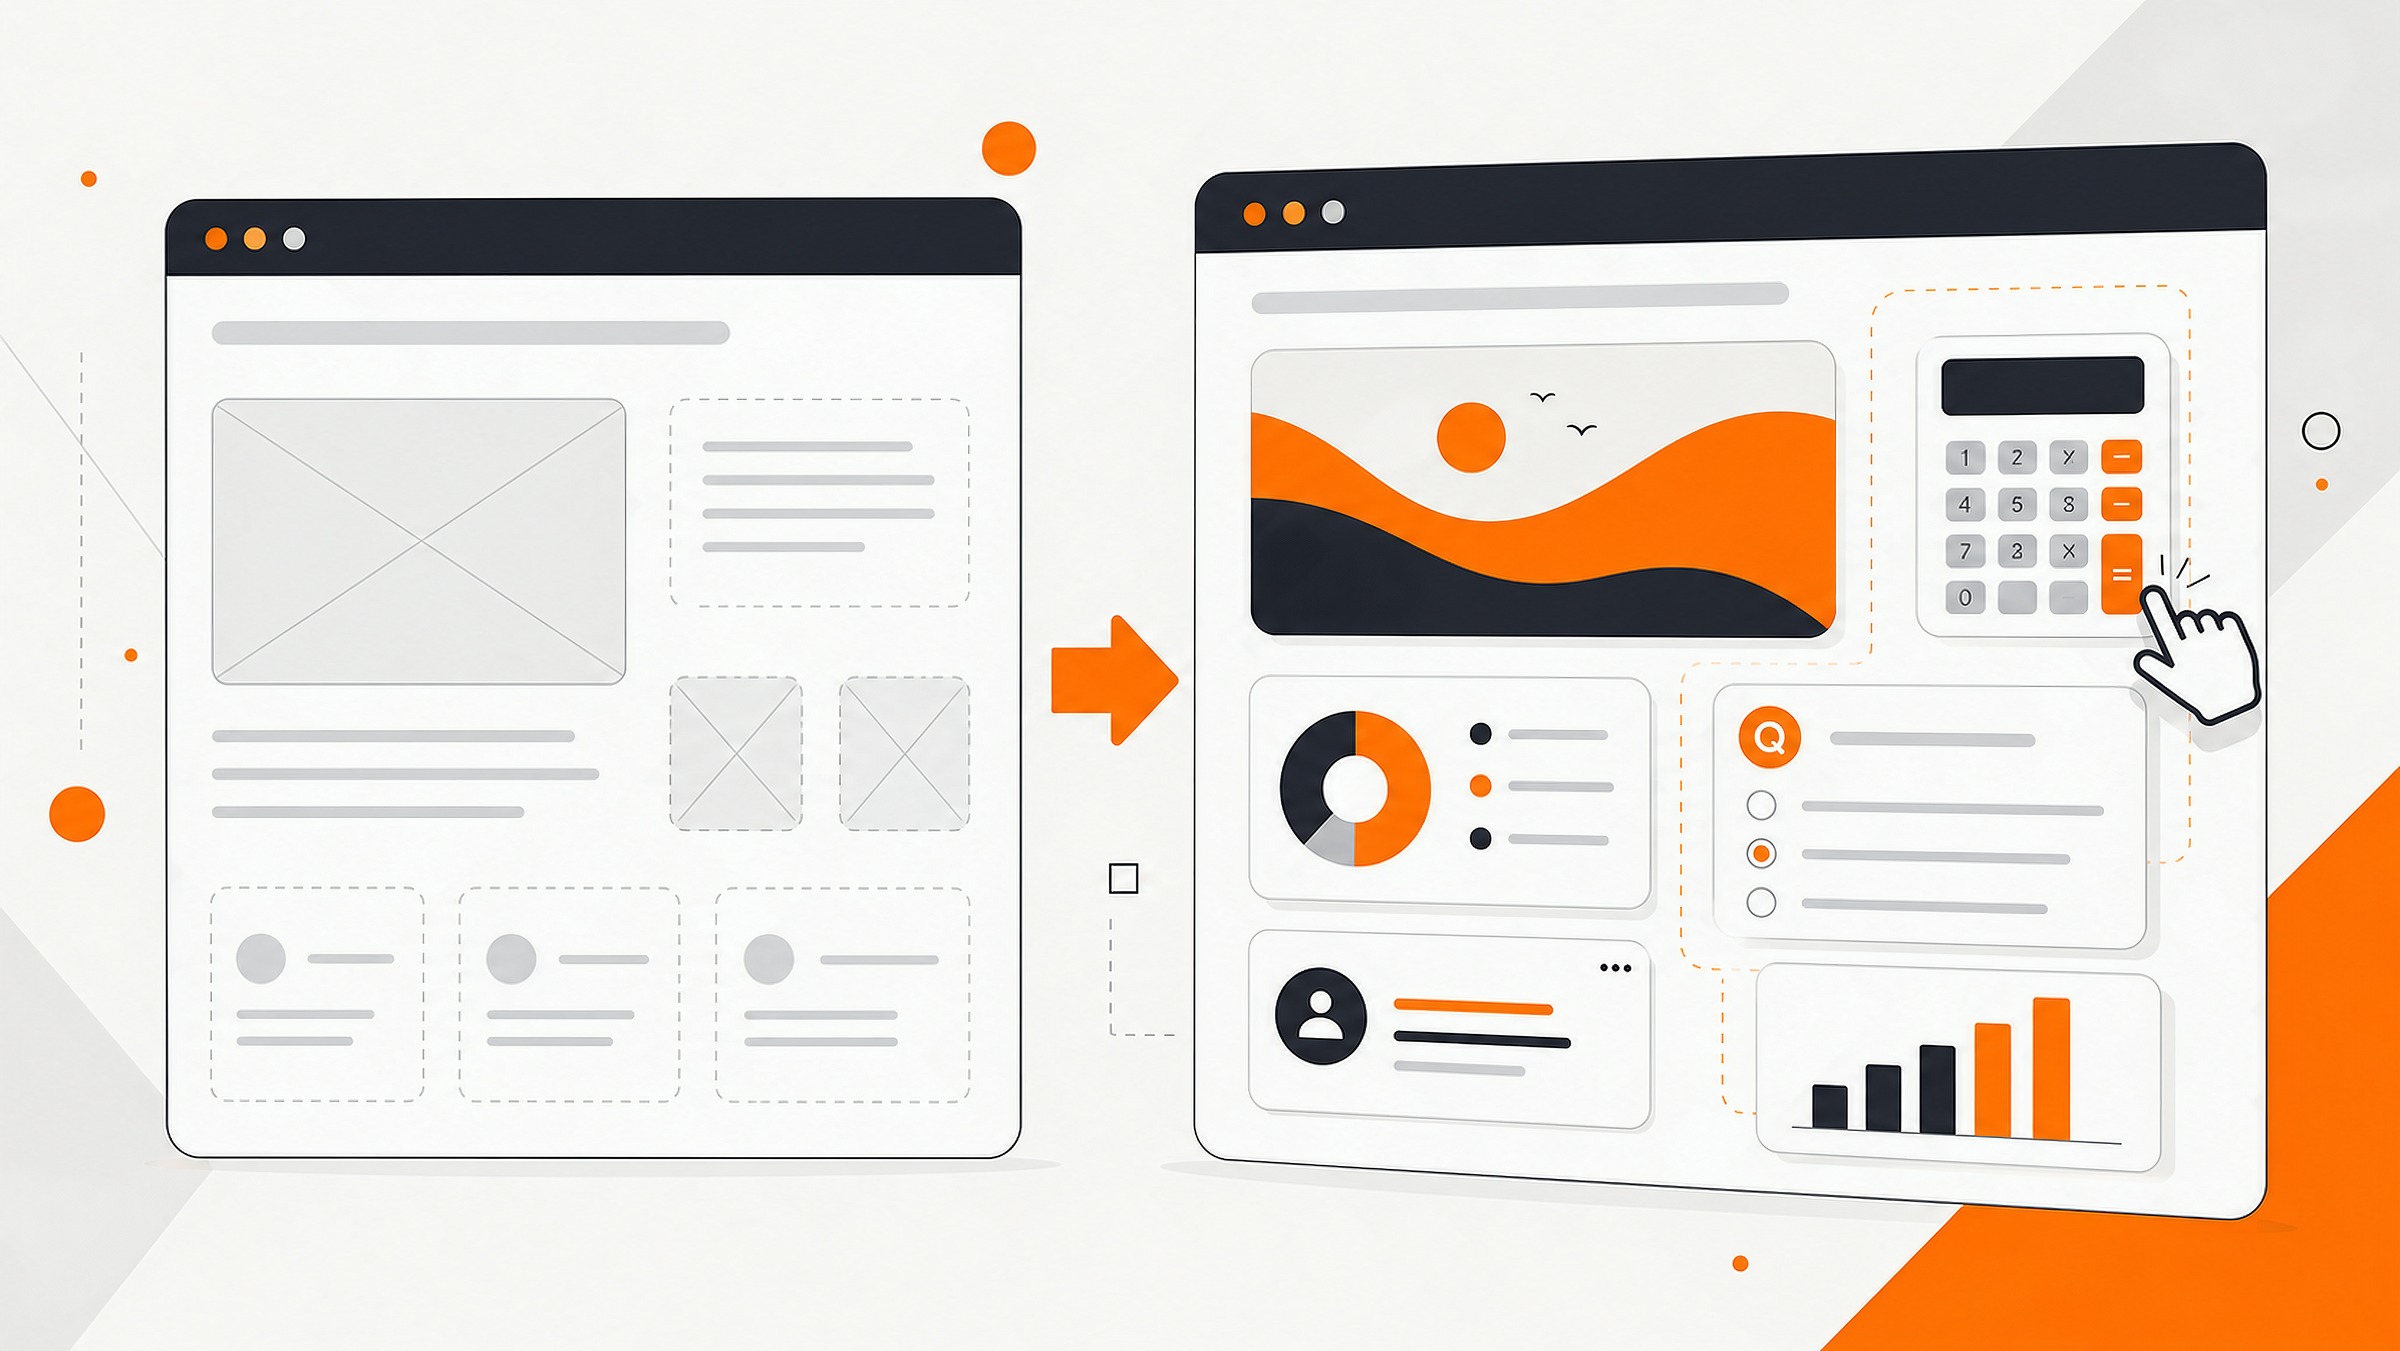
Build Interactive Widgets for Your Website with Claude
Adding interactive elements to client websites can lift user experience from static to engaging. But building these widgets often takes coding skills most agency teams lack, or requires expensive developer hours that eat into project margins. Claude AI changes this by turning simple prompts into working code you can drop into client sites right away.
In this post, we’ll walk through how agencies can prototype functional, attractive widgets with Claude that work on any website. You’ll see a real example you can try, learn the steps to create your own, and find out how to make them work with client branding, without turning every idea into a full development project.
Why Interactive Widgets Matter for Client Work
Static websites work, but interactive elements keep visitors engaged longer. A simple calculator, quiz, or data visualization tool can:
- Hold attention – Visitors stay longer when they can do something
- Boost engagement – Active participation builds stronger connections
- Show value – Practical tools show you understand what visitors need
- Stand out – Most sites in your client’s field likely lack interactive elements
Until now, adding these features meant hiring a developer or learning to code. Claude changes this by building the code for your agency team in minutes.
How Claude Creates Interactive Widgets
Claude works from your description to build working HTML, CSS, and JavaScript. The process takes minutes instead of hours or days. Here’s how it works:
1. Define What You Want
First, tell Claude what your widget should do. Be specific about:
- The purpose (calculator, quiz, visualization)
- What inputs it needs
- What it should output
- How it should look and feel
2. Generate the Code
Claude will write the HTML, CSS, and JavaScript based on your description. Your account team or project managers don’t need to understand the code to use it.
3. Shape the Look and Feel
Ask Claude to adjust colors, fonts, sizes, and other design elements to match your client’s site. This ensures your widget looks like it belongs on their page.
4. Add It to the Client Website
Copy the finished code and paste it into the client website where you want the widget to appear. Most content management systems like WordPress have HTML blocks or custom code sections where you can add this.
Example: Interactive Calculator Widget
Let’s see this in action with a simple calculator widget. Here’s what I asked Claude to build:
“Create an interactive calculator widget that can perform basic math operations (addition, subtraction, multiplication, division). Make it visually appealing with a clean design, responsive layout, and smooth animations. Use a color scheme with orange accents and dark gray backgrounds.”
Here’s the working widget Claude created:
This widget is fully functional. Try it out! You can perform calculations right here in this post.
More Widget Ideas Agencies Can Build with Claude
The calculator is just one example. Here are other widgets your agency can build with Claude for client projects:
1. Quiz or Assessment Tool
Build a quiz that scores answers and gives feedback. Great for:
- Lead qualification
- Product recommendations
- Knowledge tests
- Personality assessments
2. Interactive Pricing Calculator
Let visitors calculate costs based on their needs. Works well for:
- Service packages
- Custom product configurations
- Subscription tiers
- ROI calculators
3. Data Visualization Tools
Turn numbers into visual charts. Useful for:
- Comparing options
- Showing trends
- Breaking down complex data
- Illustrating statistics
4. Interactive Forms with Live Feedback
Forms that respond as users type. Good for:
- Contact forms with validation
- Applications with conditional fields
- Surveys with branching logic
- Order forms with instant pricing
Tips for Building Better Widgets with Claude
To get the best results when asking Claude to build widgets for client projects, follow these tips:
Be Specific About Functionality
Tell Claude exactly what the widget should do. For example, instead of “make a calculator,” say “make a mortgage calculator that takes home price, down payment percentage, interest rate, and loan term as inputs, and shows monthly payment, total interest paid, and amortization schedule.”
Describe the Visual Style
Mention colors, fonts, sizes, and other design elements. If your client’s site uses specific hex color codes, include those. For example: “Use #FF6B00 for accent colors and #333333 for backgrounds to match the client’s branding.”
Ask for Mobile Responsiveness
Specify that you want the widget to work well on all screen sizes. Claude can add CSS that makes your widget look good on phones, tablets, and desktops.
Request Error Handling
Good widgets handle user mistakes gracefully. Ask Claude to add validation and error messages to guide users when they make mistakes.
Ask for Comments in the Code
If you might want to modify the widget later, ask Claude to add comments explaining how the code works. This makes future changes easier.
Optimizing Widgets for Client Branding
The best widgets feel like a natural part of your client’s site. Here’s how to make that happen:
Match Brand Colors
Ask Claude to use your client’s exact brand colors in the widget. Provide hex codes if you have them.
Use Client Typography
If the site uses specific fonts, tell Claude to include those in the widget code.
Keep the Style Consistent
If the site uses flat design, rounded corners, or specific button styles, ask Claude to match those in the widget.
Include Client Logos
For more complex widgets, consider asking Claude to include your client’s logo or brand elements.
Looking to take your content to the next level? Learn how to use Claude style presets to craft copy that matches your client’s brand voice perfectly.
Integrating Widgets with Client Websites
Once Claude gives you the widget code, you need to add it to your client’s site:
WordPress
- Create a new post or page, or edit an existing one
- Add a Custom HTML block
- Paste the entire code Claude gave you
- Update or publish your page
Squarespace
- Edit the page where you want the widget
- Add a Code block
- Paste the code from Claude
- Save your changes
Wix
- Edit your page in the Wix Editor
- Add an HTML iframe element
- Click “Enter Code”
- Paste the code from Claude
- Apply and save
Custom HTML Sites
- Open your HTML file in a text editor
- Find where you want to add the widget
- Paste the code
- Save the file and upload it to your server
If you’re working on other agency systems, check out our guide to building better business systems with low-code/no-code and AI.
Testing Your Widgets
Always test your widgets before deploying them to client sites:
- Check all functions – Make sure every button and feature works
- Test on different devices – Try phones, tablets, and desktops
- Test in different browsers – Chrome, Firefox, Safari, and Edge
- Check loading speed – Widgets shouldn’t slow down your client’s page
If you find issues, ask Claude to fix specific problems in the code.
Beyond Basic Widgets: What’s Possible
As your agency team gets comfortable with Claude-built widgets, you can create more complex tools:
Multi-step Tools
Build widgets that walk users through a process step by step, showing different screens based on their choices.
Data-driven Widgets
Create widgets that use APIs or external data sources to show real-time information.
Interactive Infographics
Build visual data displays that change based on user input or selections.
Mini-applications
Create small but powerful tools that solve specific problems for your client’s visitors.
The Real Value of Interactive Widgets for Agencies
Adding interactive elements to client sites does more than just look good:
- Longer visits – People spend more time on sites with interactive elements
- Better conversion – Interactive tools can guide visitors toward buying decisions
- More shares – Useful tools get shared more often
- Lower bounce rates – Engaged visitors are less likely to leave quickly
- Valuable data – Widget usage can tell you what visitors care about
- Higher project value – Custom tools add measurable value without developer costs
The best part? With Claude, your agency can prototype these tools in minutes instead of days or weeks, without eating into project margins.
Getting Started with Your First Widget
Ready to build your first interactive widget for a client project? Start with something simple:
- Think about a small problem your client’s visitors have
- Design a simple tool that helps solve it
- Ask Claude to build the widget
- Test it thoroughly
- Add it to the client site
- Watch how visitors use it
As you see what works, you can build more complex tools that drive even more engagement.
Want to learn more about using AI to expand your agency’s capabilities? Check out our thoughts on Content Strategy 3.0 and how AI is changing content creation for agencies.
Build Repeatable Toolbuilding Capability
Interactive widgets used to be a luxury only for agencies with full-time developers. Claude changes that by making custom, interactive elements accessible to any account team or project manager.
If your agency wants to move from one-off experiments to repeatable toolbuilding capability, where any team member can prototype interactive solutions for clients, our AI Toolbuilding Lab walks your team through the process hands-on. You’ll learn to build custom micro-tools, integrate them into client workflows, and ship practical value without turning every idea into a full development project.
Start small, learn what works, and build more complex tools as you go. Your clients will notice the difference, and your agency will stand out from competitors who still rely on static content alone.
The calculator widget above took less than 5 minutes to create with Claude. Imagine what your agency could build for client projects in just an hour.